Pareidolia Portrait: From a Watercolour Splash to a Finished Head
October 2, 2026
I decided I'd try a new process for this one, in creating a unique portrait character. I'd played with the idea before, using watercolour to create somewhat random silhouettes that I could use to build portrait sketches on. I found that by letting my mind free in observing these shapes I could use the pareidolia effect to my advantage. I basically have a sketchbook full of these shapes, and I flick through the pages and rotate the book until something catches my mind's eye.
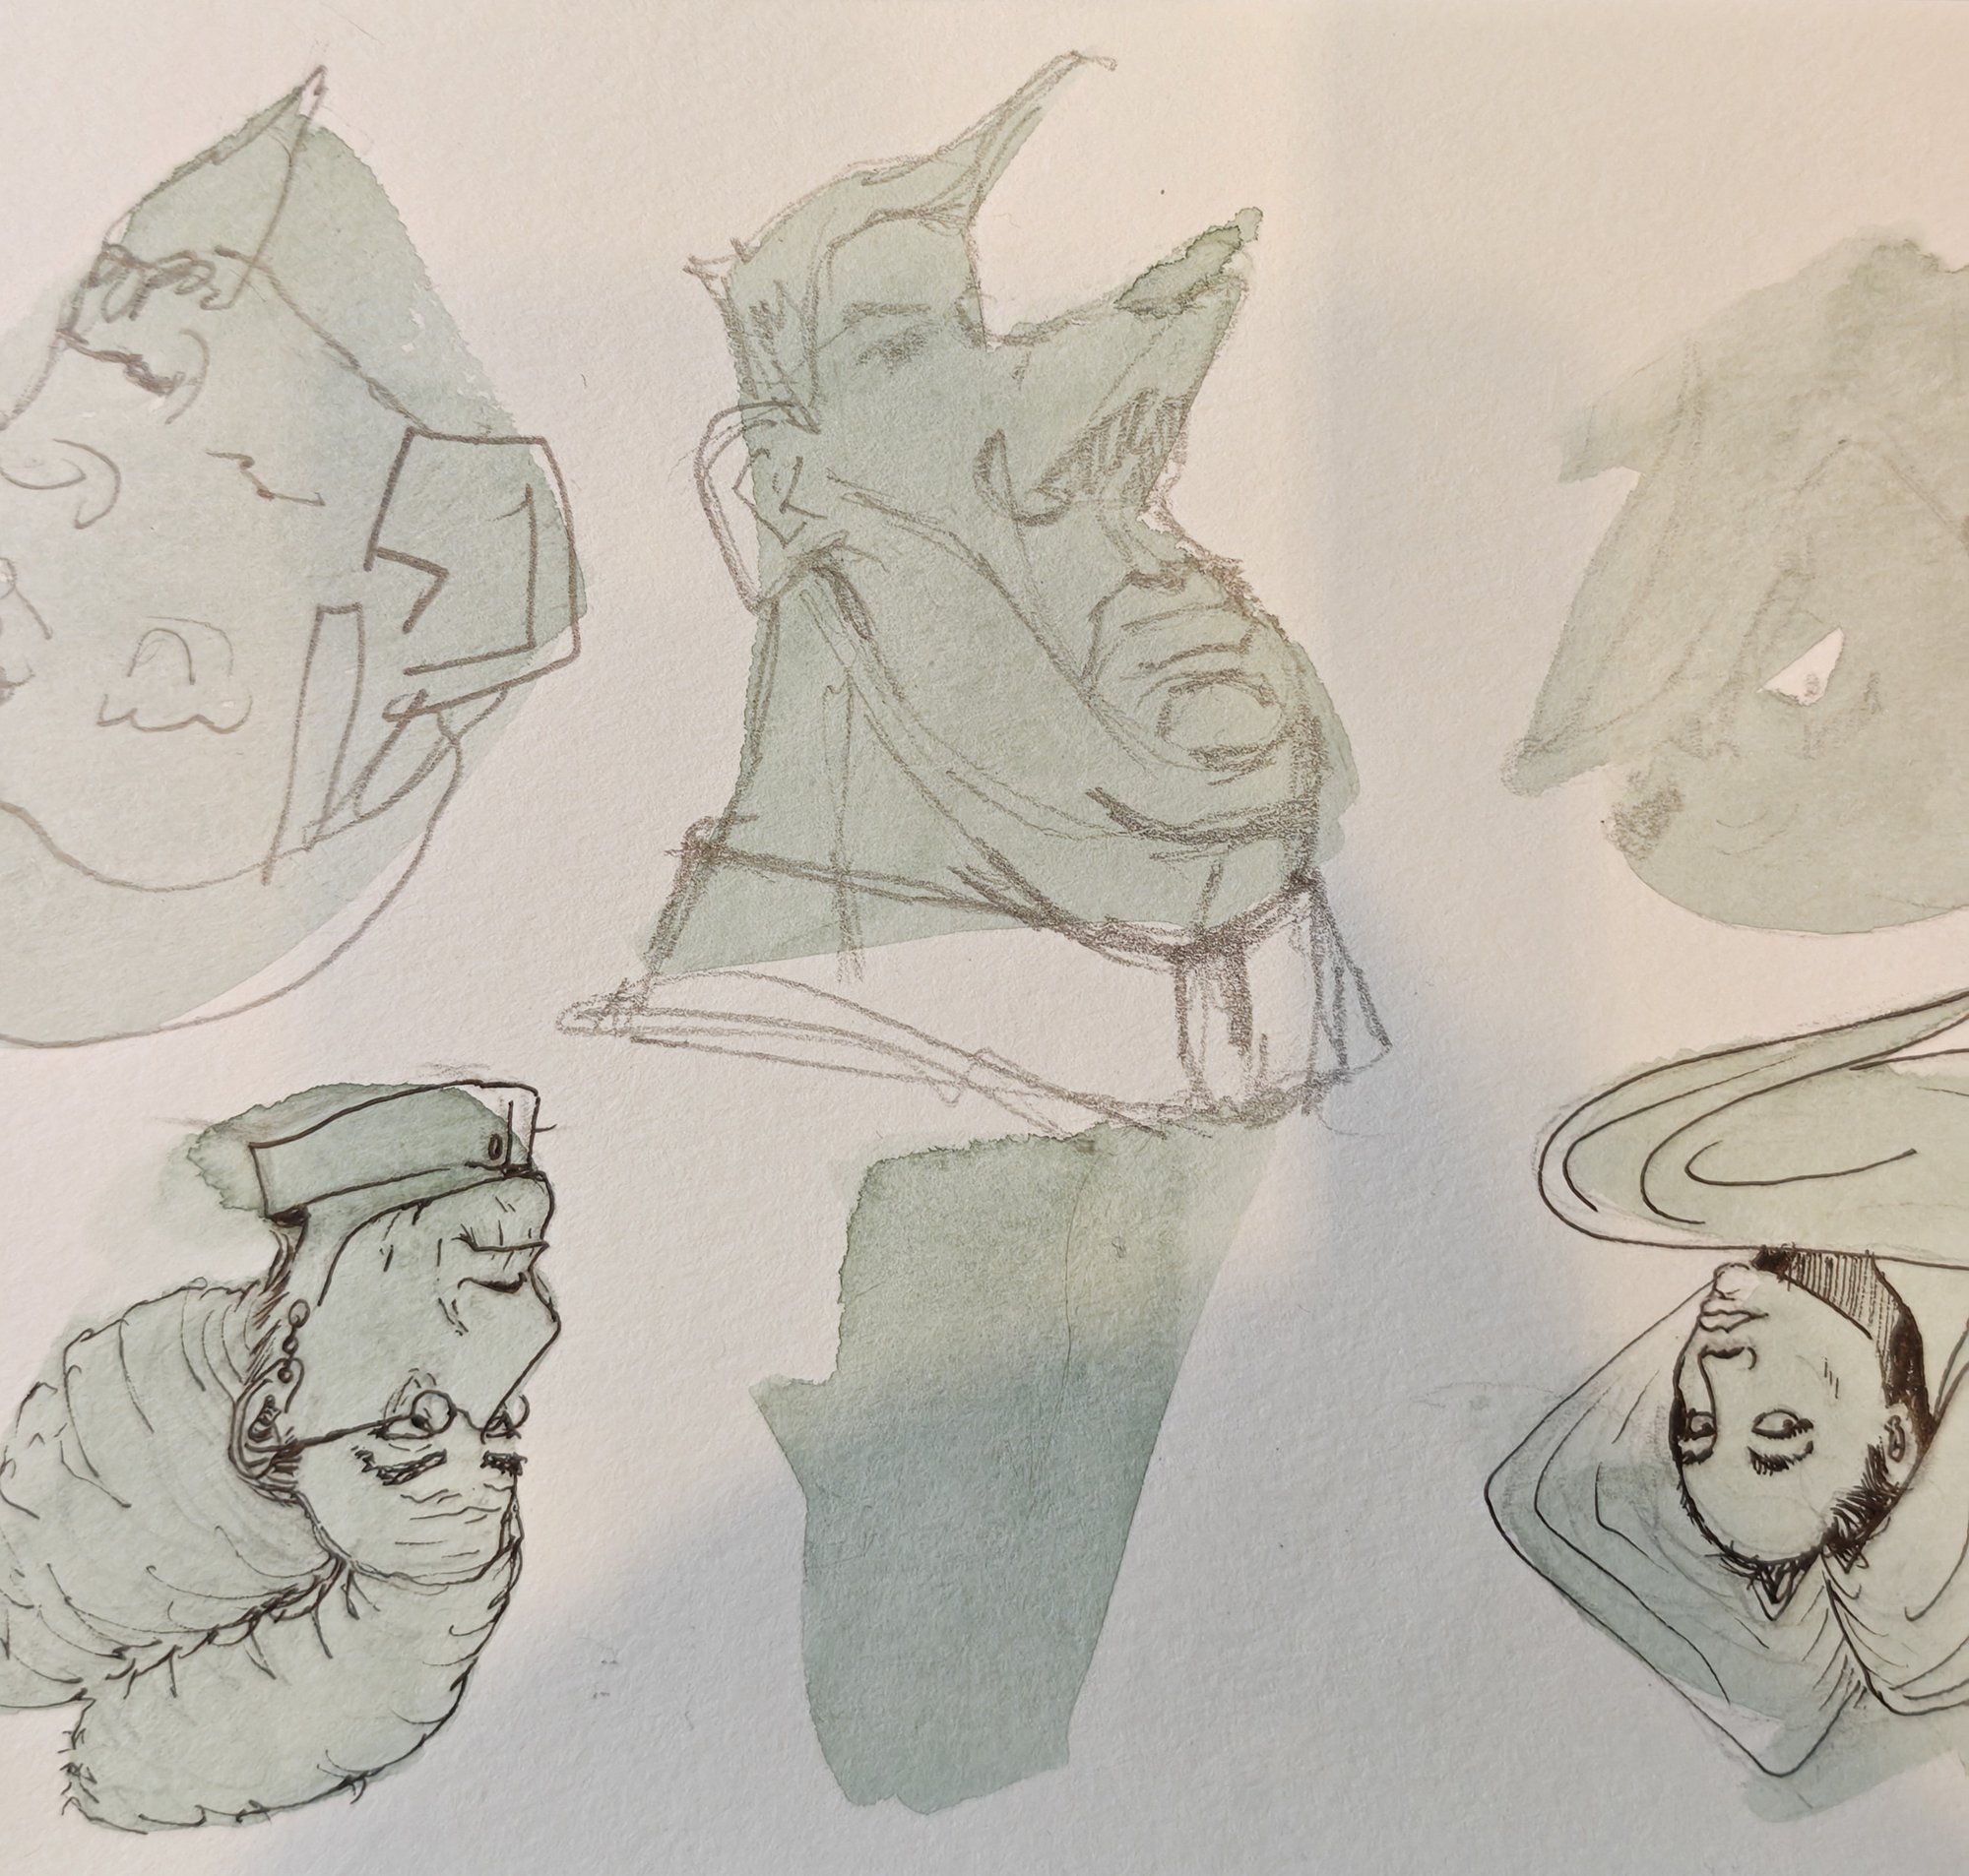
What's been interesting through this process for me is that I've sort of done this practice since I started learning portrait construction, and when I began it was mostly characters with short hairstyles that I saw. My thoughts behind why this happened: typically, if the hair is short, then the silhouette of the face features, like the nose and cheek, will be more prominent on the outer edge of the silhouette. I pushed to develop a stronger sense of observation with these silhouettes by trying to perceive characters with long hairstyles. I find that they are more difficult to envisage, as typically the face silhouette can be lost within the overall shape of the head, including the hair. Pushing this perception is an ongoing exercise for me, but I worked on one recently that I'll be sharing where I did just that, and interestingly it wound up being a character with long hair, though tied up.
Expanding the sketch
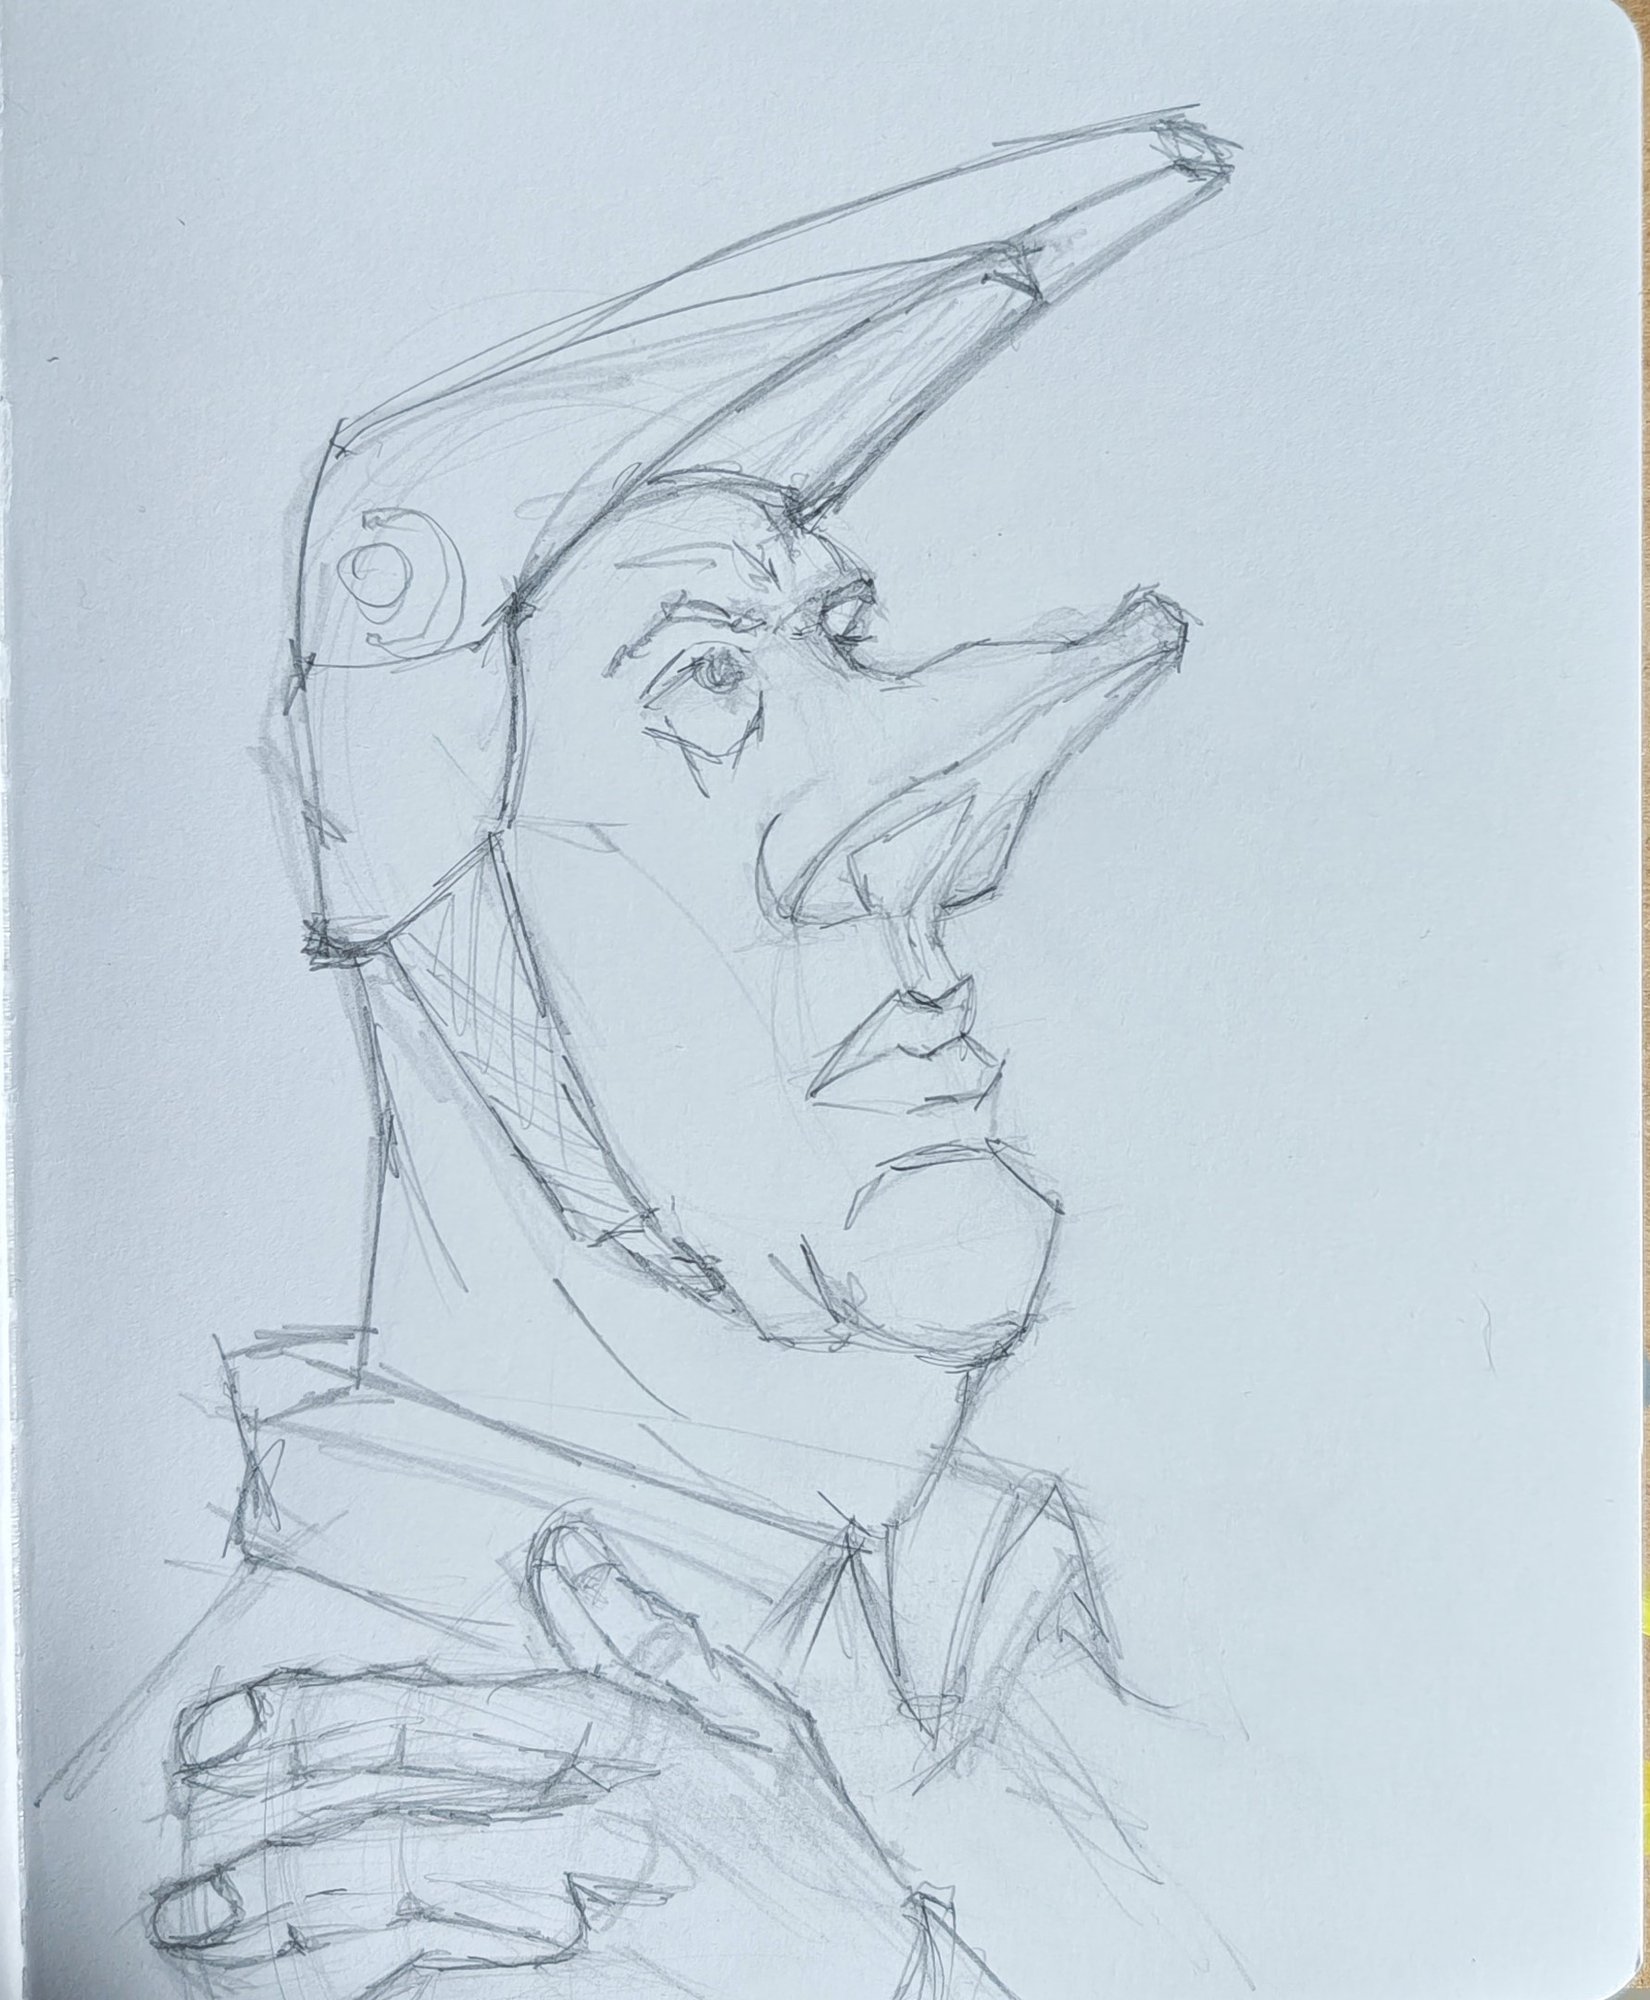
Anyway, I take these sketches and expand them onto a larger area to work with, which allows some refinement and detailing, and I've also found myself transferring them to digital just to test out some shapes and potential lighting.
Lighting from nowhere
This is the first time attempting this, and I found that the lighting was really difficult to get, as the complexion and direction were also made up. To achieve this I simply gathered reference for palettes I liked and lighting scenarios for similar angles to produce the result; these live on a board in PureRef, which is worth a look if you want to explore it for yourself. The Asaro head is a really useful digital tool to use here, as you can get an interactive one online that allows you to manipulate angle and lighting (search "interactive Asaro head online"). I've not fully studied this head, but I have seen many artists using it as a method to strengthen their portraits, so I would recommend further reading about it.
Shadows first
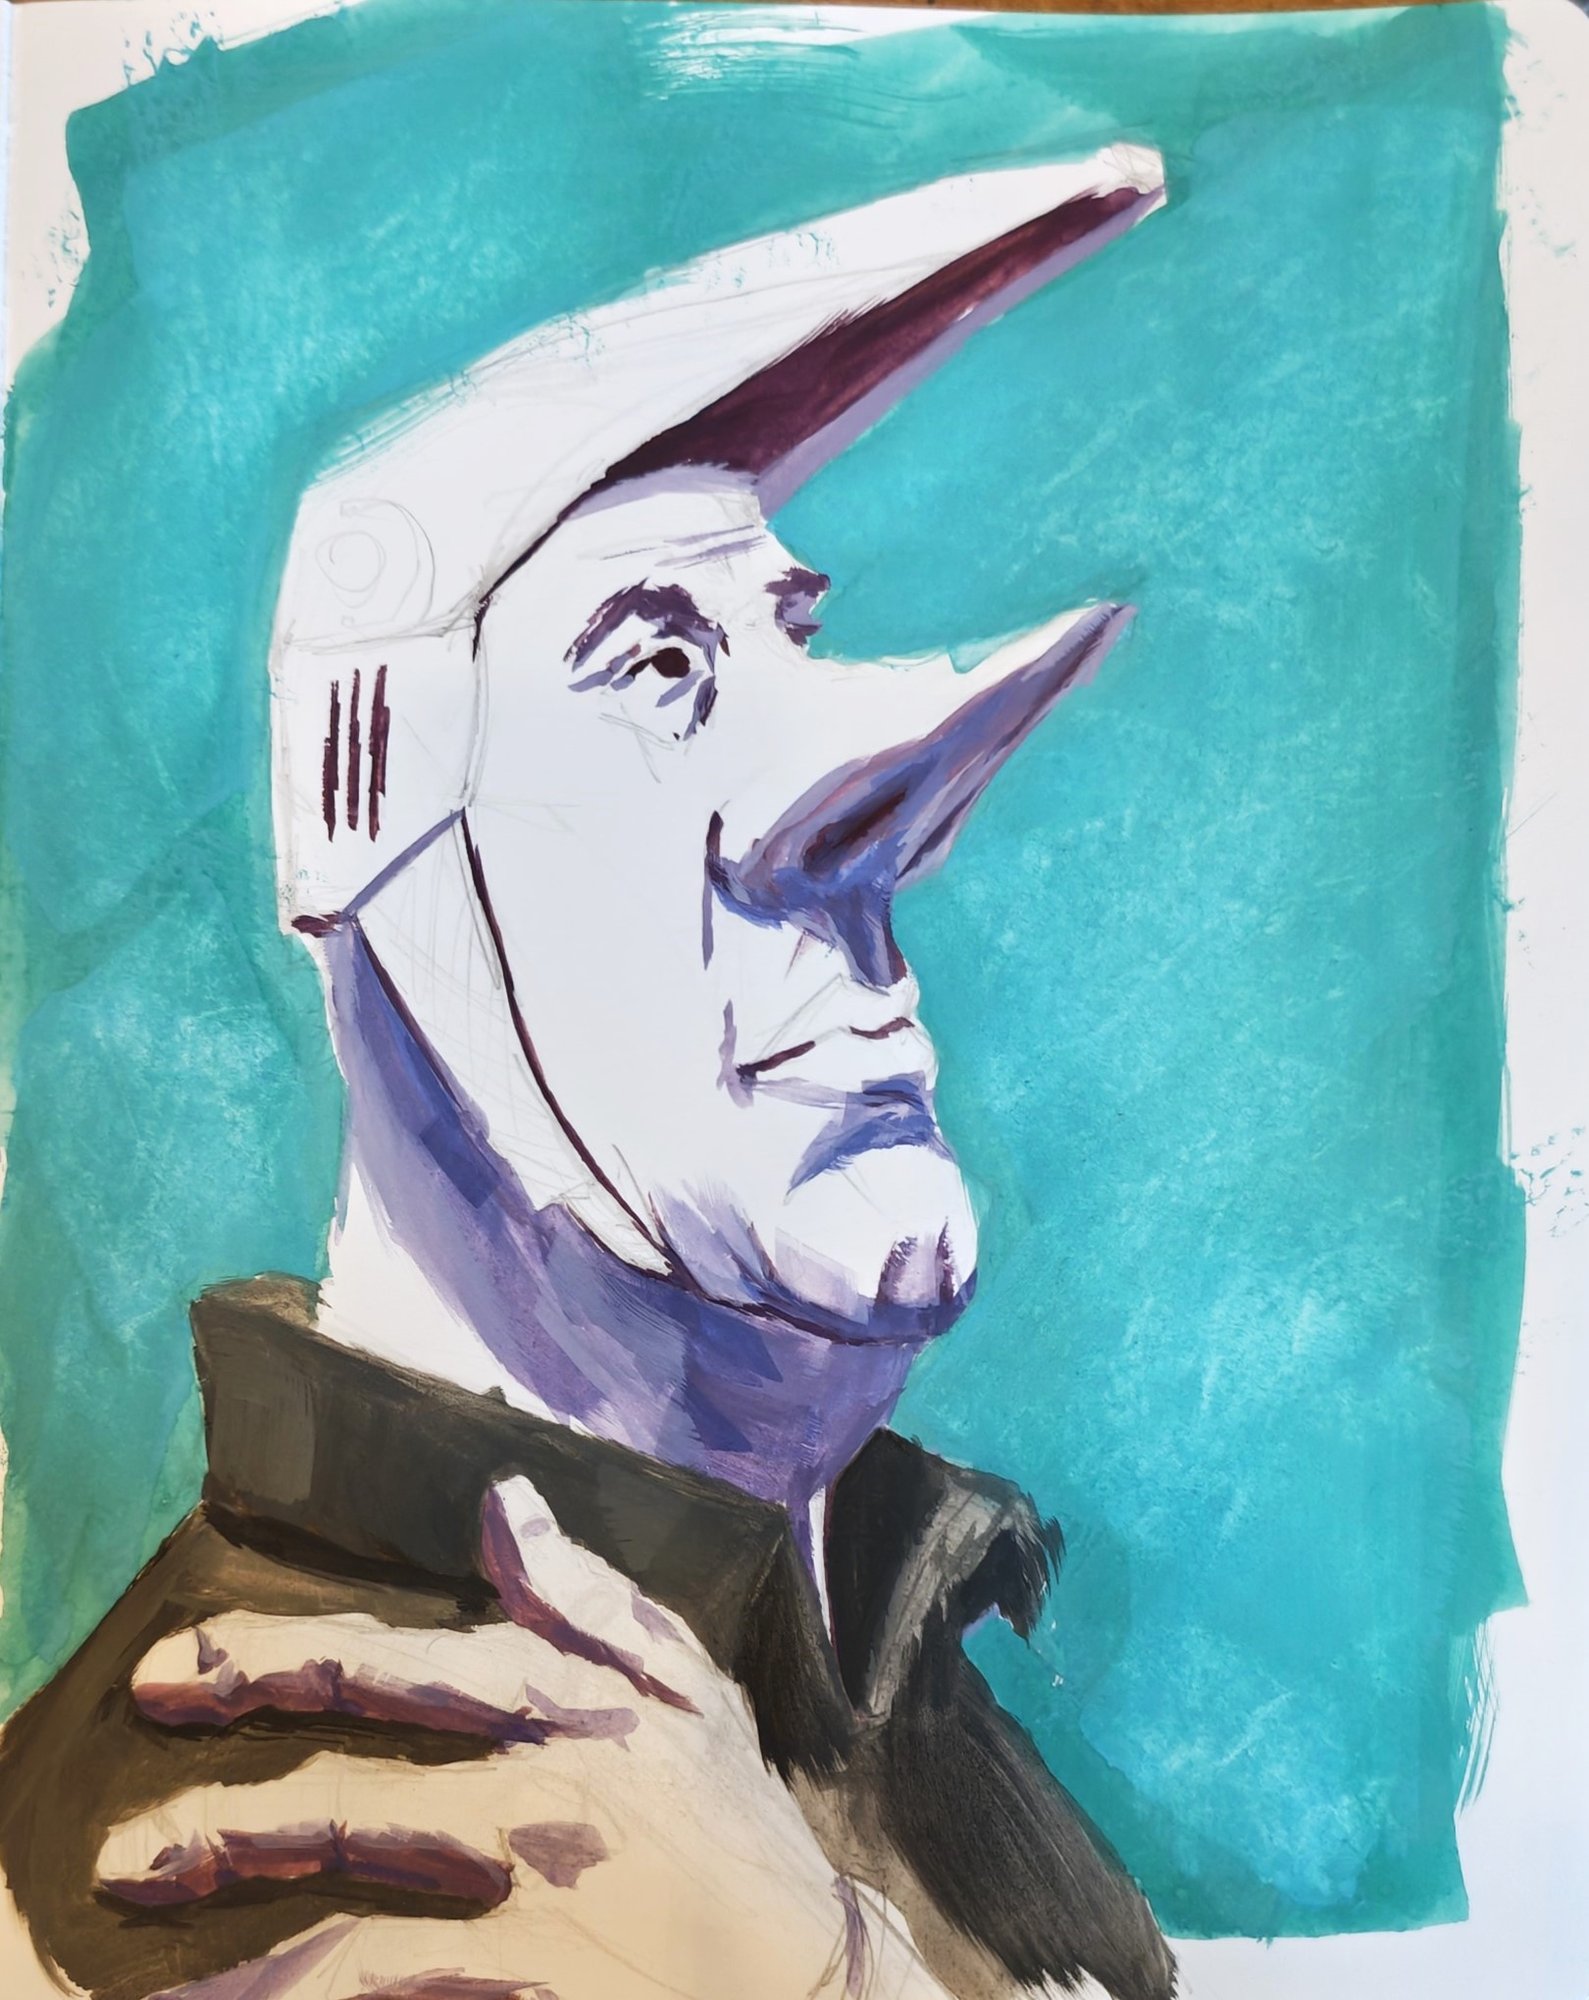
The approach for the painting was to play with some bolder colours on top of the Zorn palette, mainly for the background and the shadows. I wanted to be more colourful in the shadows this time. Once I had solid lighting references I approached the portrait from the shadows to the light, continually modifying in between. I actually found that this gave me a good tonal reference to build the rest of the values.
The finished head
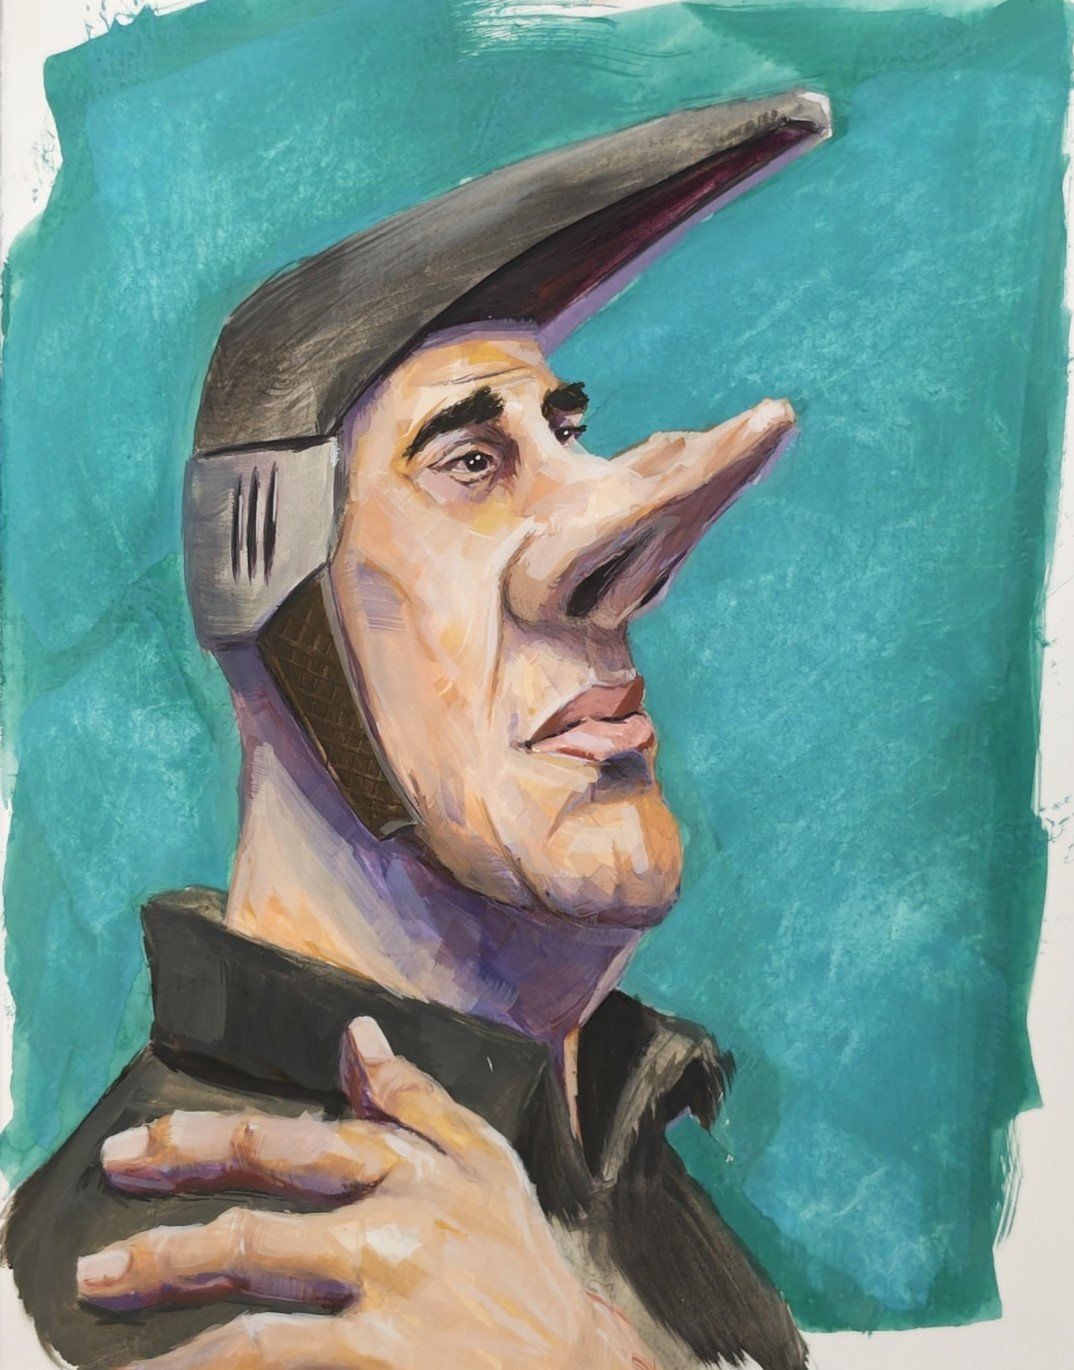
Approaching the hand was challenging, as I skipped my studies, which I'll need to get to soon. But I worked it as a block, in as simple shapes as possible, before painting in the same steps from shadow to light.
All in all, a first for me: to go from sketch to finished character, all from imagination and the help of pareidolia and silhouettes. It's a milestone for me, a combination of all the things I've been learning brought together creatively, and admittedly a lot of fun. I enjoyed the workflow and will continue to use this going forward, refining it as I develop further. Hopefully I can carry this further in the future with figures and other objects, though we will see.
Materials used
- Holbein Artists' Gouache: Flame Red, Yellow Ochre, Ivory Black, white, Ultramarine, Emerald Green
- Stillman & Birn Zeta sketchbook